Gear Indicator For Aprilia ETV 1000 RS 125 RS125 RSV Mille Tuono RSV4 Non-ABS ETV1000 4 Caponord
+ CHF 11.49 Versand

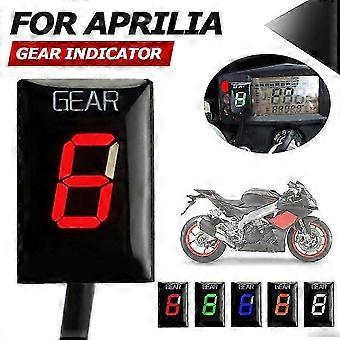


Gear Indicator For Aprilia ETV 1000 RS 125 RS125 RSV Mille Tuono RSV4 Non-ABS ETV1000 4 Caponord
- Marke: Unbranded
Gear Indicator For Aprilia ETV 1000 RS 125 RS125 RSV Mille Tuono RSV4 Non-ABS ETV1000 4 Caponord
- Marke: Unbranded
Bespaar CHF 70.05 (67%)
UVP
14-Tage-Rückgabepolitik
Bespaar CHF 70.05 (67%)
UVP
14-Tage-Rückgabepolitik
Zahlungsmethoden:
Beschreibung
Gear Indicator For Aprilia ETV 1000 RS 125 RS125 RSV Mille Tuono RSV4 Non-ABS ETV1000 4 Caponord
- Marke: Unbranded
- Kategorie: Kfz-Sensoren & -Messinstrumente
-
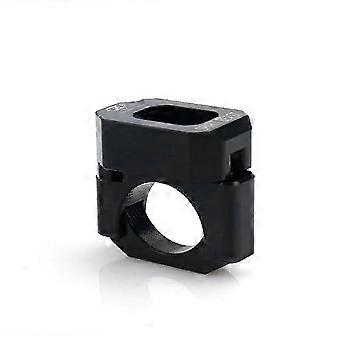
Farbe: Black bracket
- Fruugo-ID: 444628112-933944394
- EAN: 6919595521705
Produktsicherheitsinformationen
Bitte beachten Sie die unten aufgeführten spezifischen Produktsicherheitsinformationen für dieses Produkt
Die folgenden Informationen werden vom unabhängigen Drittanbieter bereitgestellt, der dieses Produkt verkauft.
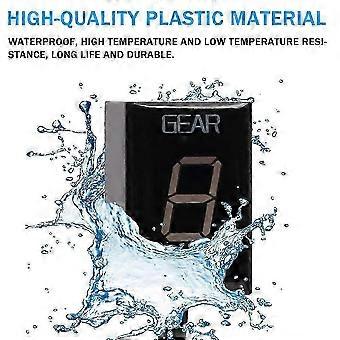
- Check the product before use
- do not let your children touch this product alone to avoid swallowing or other injuries. to ensure safe use.
Lieferung und Rückgaben
Versand innerhalb von 24 Stunden
-
STANDARD: CHF 11.49 - Lieferung zwischen Do. 12 Februar 2026–Fr. 20 Februar 2026
Versand von China.
Wir tun unser Bestes, um dafür zu sorgen, dass die von Ihnen bestellten Produkte vollständig und gemäß Ihrer Spezifikationen an Sie geliefert werden. Wenn Sie allerdings eine unvollständige Bestellung oder Artikel erhalten, die sich von den bestellten unterscheiden, oder es einen anderen Grund gibt, warum Sie mit Ihrer Bestellung nicht zufrieden sind, können Sie die gesamte Bestellung oder einzelne darin enthaltenen Produkte zurücksenden und eine vollständige Rückerstattung für die Artikel erhalten. Vollständige Rückgaberichtlinie ansehen
Details zur Produktkonformität
Bitte beachten Sie die unten aufgeführten Konformitätsinformationen zu diesem Produkt.
Die folgenden Informationen werden vom unabhängigen Drittanbieter bereitgestellt, der dieses Produkt verkauft.
Hersteller:
Es folgen die Kontaktdaten für den Hersteller des jeweiligen Produkts, das auf Fruugo verkauft wird.
- Yanqirankeji-2
- Yanqirankeji-2
- 77-6 Xiangyin Road, Longgang Street, Unit 301A,Nanlian Community, Longgang District
- shenzhen
- China
- 518100
- a2Yanqirankeji@163.com
- 18275928974
Verantwortliche Person in der EU:
Es folgen die Kontaktinformationen für die verantwortliche Person in der EU. Die verantwortliche Person ist der benannte Wirtschaftsteilnehmer mit Sitz in der EU und verantwortlich für die Compliance-Verpflichtungen in Verbindung mit dem jeweiligen Produkt, das in die Europäische Union verkauft wird.
- Apex CE Specialists GmbH
- Apex CE Specialists GmbH
- Grafenberger Allee 277,40237 Dusseldorf, DE
- Dusseldorf
- Germany
- 40237
- info@apex-ce.com
- 21312066043